


This is the main body modeled up in CAD.


I started out by gluing a piece of MDF to a sacrificial board and mounting it in my CNC router. I'm going to cut the outside of the pattern first. It was roughed out with a 1/2" diameter end mill. After the roughing was done I ran a finishing program using a 1/2" diameter ball nose end mill. I switched over to a 1/4" end mill and put a dowel hole at the center of the part.


I removed the part from the last operation and put a dowel hole in the sacrificial board at the center of the part. I then inserted a 1/4" dowel and clamped the part as shown. Orientation in the step is not important because the feature that I will be cutting is circular. I roughed out the back side with a 1/4" diameter end mill and then finished with a 1/4" diameter ball end mill.


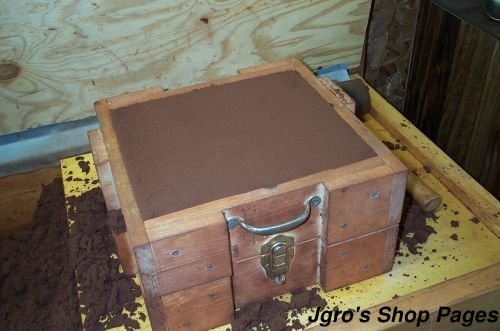
The sand is compacted and more is added until the flask is full and is then struck-off. The drag is flipped over.

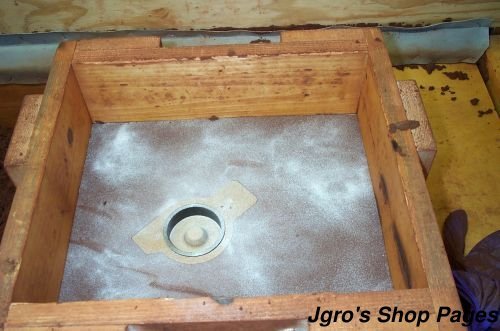
I inserted the steel piece of pipe that will get cast into the part. This piece is for the steel ball to ride against so that it does not damage the aluminum. More parting dust is added and the cope side of the flask is assembled and filled with sand and struck-off.


When I separated the two halves, the steel core stayed with the cope side. Just what I wanted! Next I cut the sprue with my sprue cutter.


I cut the pouring basin and the gates and runners while leaving the pattern in place. After the gates and runners are cut, the pattern was removed.


The flasks were reassembled and are ready for pouring. The furnace was lit and the crucible filled with aluminum.


The metal at the beginning of the melt, the metal melted and the mold after pouring.


The flask is opened and the new part with a cast-in steel insert


The cover is a simple part to cast. The second image is of all the parts of the assembly. The last image is of the assembled vibrator. I attached an air nozzle to work as the switch to turn it on and off. The nozzle happened to have the same pipe thread that I had put into the housing.
No comments:
Post a Comment
Note: Only a member of this blog may post a comment.