
I'm making another part for the fire truck. It's the tool box cover that is on the rear tailboard. The one we have is broken and half of it is missing.


This is where they it is located on the truck. We have the original build spec from when the truck was ordered in 1924 and one of the options was that you could have was the standard Boyer lid or you could have one with your fire department's name on it (for a price of course). I decided to do the later.


Here are the CAD images and a rendering that I made. The tabs are there to hold the part while machining. For this part not only do I have to flip the part and machine both sides, I also have to shift the part because my CNC is not big enough.
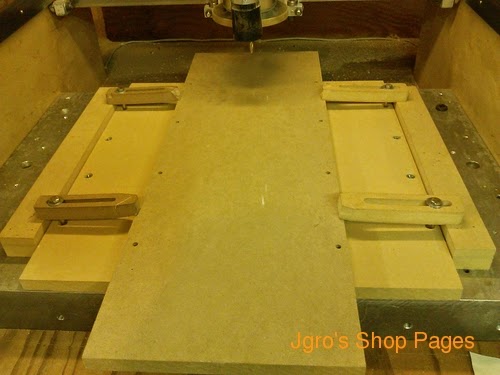
I started by putting in the holes used for locating the part. These are in the table top as well as the part itself.


I started machining the far side first. When that was done, I shifted the part and cut the near side. Instead of doing all of my cutting in one setup and then shift the part to do the next, I cut the far side, shifted the part and then cut the near side. That way I do not lose my Z depth setting on the bit. This gets real critical when doing the finish cut. Without doing this, the finish cut will more than likely come out mismatched. The second image shows what it looks like after a rough cut. There's a part in there somewhere. The last image shows the part after vacuuming the debris. This side is roughed out.


Next I ran the finish pass on the near side. When that was done, I shifted the part and cut the far side. The next cuts where made to locate the letters. The cut is only .015" deep. Just enough to located the letters that I will cut out of Lexan.


The part got flipped and the near side roughed out. The the part got shifted and the far side got roughed out. The the finish passes were made.

I then cut out the letters out of Lexan.


I cut the pattern away from the frame and sanded the connection points smooth. Then I gave it a coat of shellac.


I sanded the pattern and applied the finish coat. I used a HVLP touch-up gun to spray the polycrylic final coat(s). There was a learning curve to using it, but I think I figured it out. I then glued the letters on using super glue. Next I have to make a flask for it and then the fun begins
No comments:
Post a Comment
Note: Only a member of this blog may post a comment.